How to Master Zmodo Camera Setup: Installation and Connection
Do you want to secure your home using a Zmodo camera? Indeed, installing a new security camera can be challenging at times. But with the appropriate guidance, you can accomplish the Zmodo Camera Setup in a few minutes.
In this guide, we will attempt to take you through all the necessary steps, from unboxing your device to keeping an eye on your home. If you are interested in learning how to setup my zmodo camera within minutes at home, then this guide is for you. Walk through this guide for a detailed process.
Zmodo Camera Setup- Complete Information
Indeed, you can set up your Zmodo security camera in two ways: one is through the Zink connection and via the SmartLink. For both methods, you can use the user-friendly and convenient Zmodo app to configure your home security settings at home.
Before beginning with the Zmodo Camera Setup, you must have a stable 2.4 GHz wifi network, because the Zmodo camera doesn’t support the 5 GHz band. Moreover, you must have an active Zmodo account and valid account credentials. Then, you must choose an appropriate way to set up your security device from the options below:
How To Setup My Zmodo Camera on Your Phone?
- Initially, ensure that you have a stable 2.4 GHz network on your smartphone.
- Now, ensure that the upload speed requirements are according to your device.
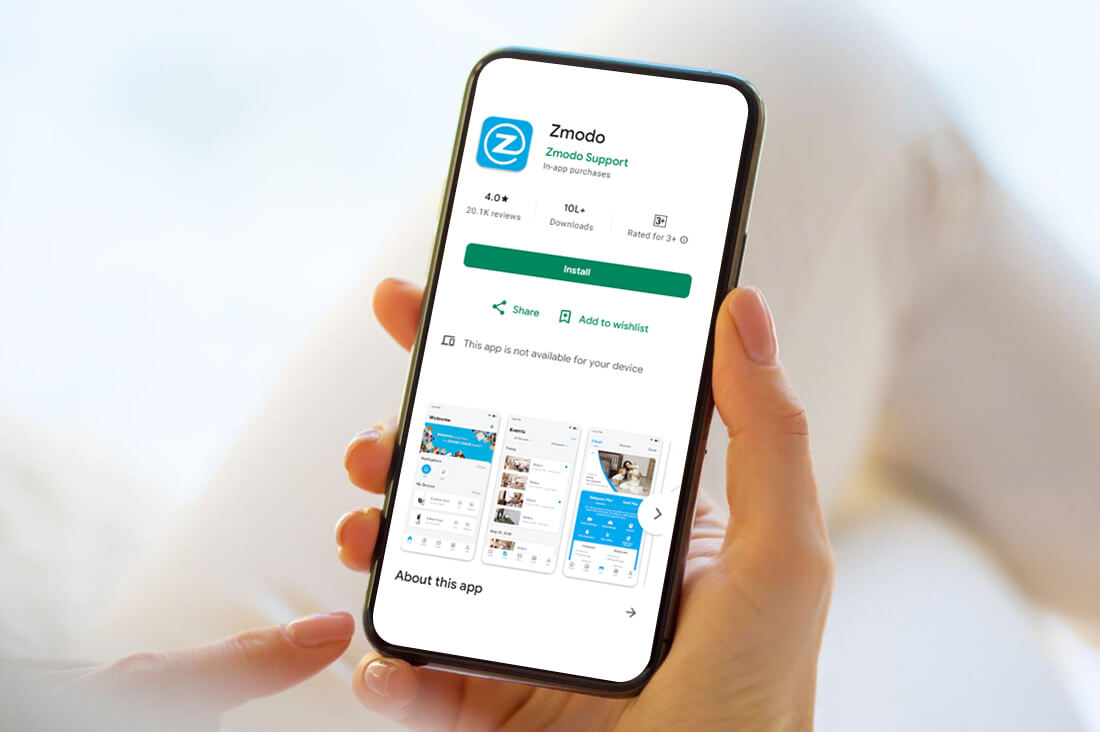
- After that, get the Zmodo app on your smartphone with the latest version.
- Now, launch this app and create an account or log in with your existing credentials.
- Further, plug your security camera into the wall outlet near the wifi router.
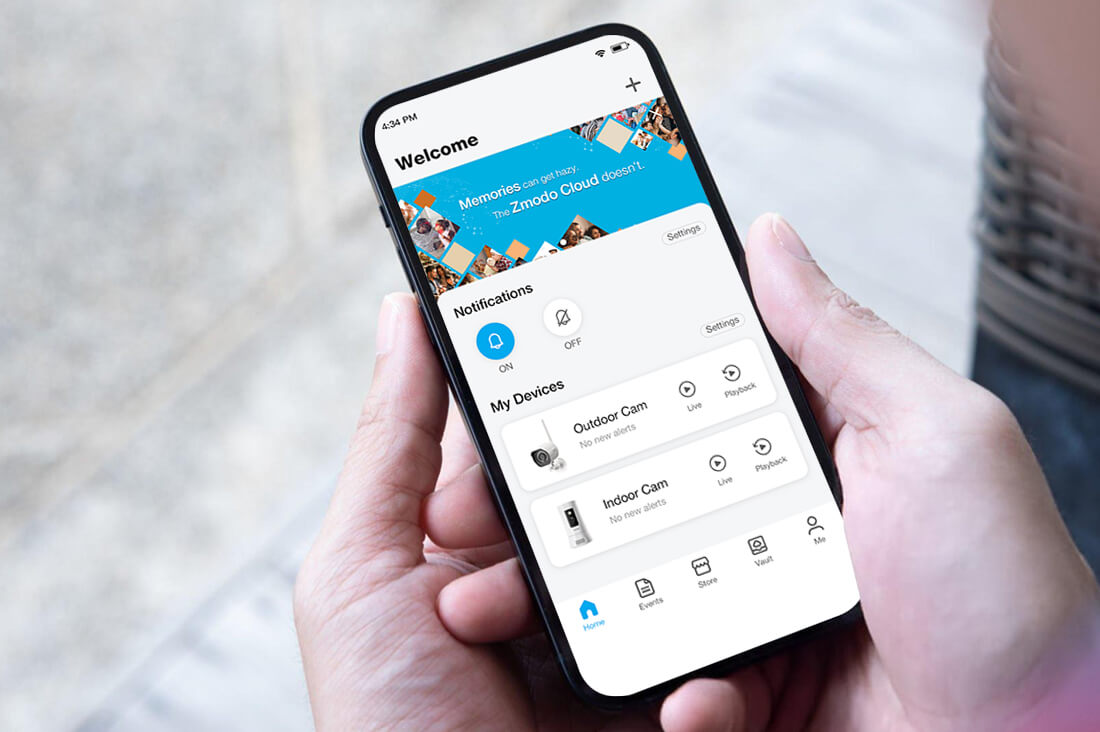
- Now, you are visiting the home dashboard of your camera.
- Tap on the “+” appearing at the top-left corner of the screen and select “Add Device”.
- Next, choose the “Zink” method for connecting your camera.
- Link your security camera to your account by following the instructions on the app.
- After that, proceed further, and you can also add more cameras or additional units.
- On the screen, click “Tap Here to Begin Setup,” and the WiFi Settings page opens.
- Now, select your preferred network name and enter its password.
- Further, select “tap to select wifi” on the “Zink Connection” page.
- Then, choose a preferred wifi network and connect to it.
- The app will automatically search for the available wifi networks for connection.
- Now, you can customize the name and password for your device.
- Finally, your Zmodo camera setup is completed on the phone.
Setting Up the Zmodo Camera Through SmarLink
- First, ensure that you have a stable 2.4 GHz network on your smartphone.
- Then, download the Zmodo app on your smartphone and create an account.
- If you have an account, enter your email and password to log in.
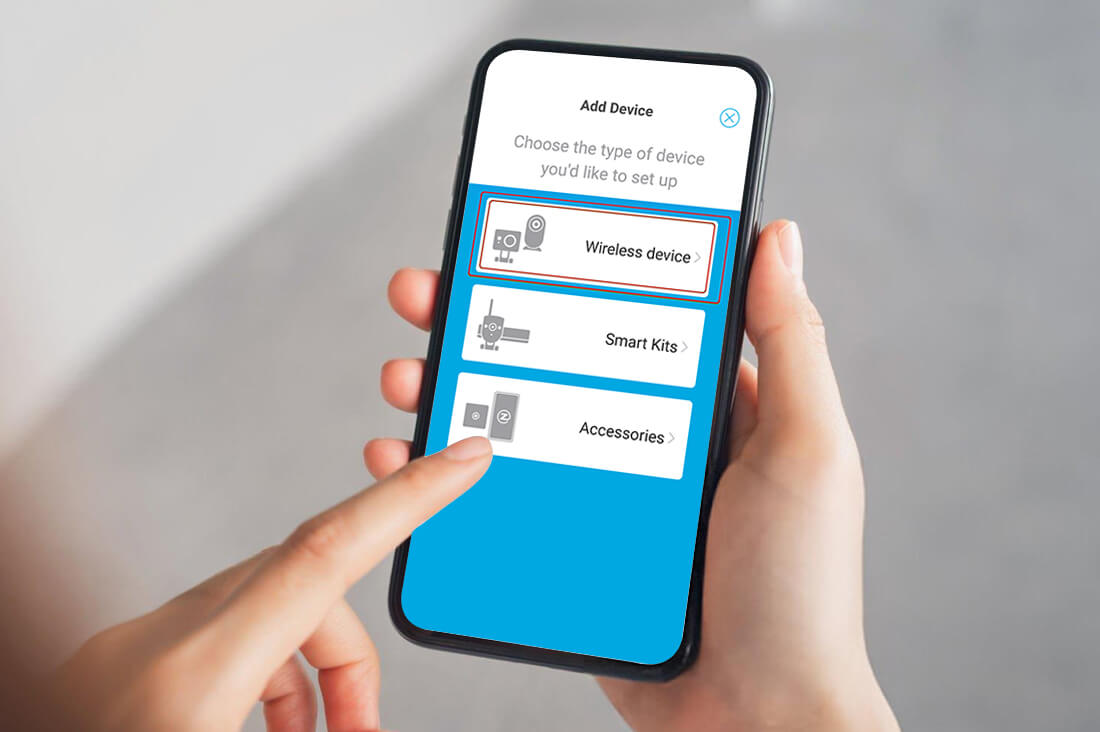
- Now, tap on the “+” icon to add a device.
- Then, go to Add Device>Wireless Device>Add Wireless Device to link your Zmodo wireless device to the network.
- Enter your wifi password and connect your device.
- Wait for a while till the SmartLink finds your device and connects.
- Further, name your device when the SmartLink connects to your Zmodo camera.
- Select a name for your device and set a strong password.
- Now, you can position your security camera at your preferred location.
- Finally, the Zmodo security camera is ready to use.
Facing Issues in the Zmodo Camera Setup? Try These Solutions!
Often, users face issues with the Zmodo Camera Setup. Nevertheless, most of the frequently occurring issues can be easily solved. Common causes involve incorrect wifi credentials, weak wifi signal, and firmware issues etc. In case your Zmodo camera is not connecting, not showing video, or not setting up at all, don’t worry! So, here is what you need to do if you are unable to complete the Zmodo camera setup:
- First, reboot your Zmodo camera, router, and setup device to fix the technical glitches.
- Cross-verify that your Wi-Fi network name (SSID) and password entries are correct.
- Next, use only the 2.4GHz Wi-Fi band of your router while setting up your camera.
- After that, bring the Zmodo camera near your Wi-Fi router to have a stronger signal.
- Switch off mobile data on your smartphone temporarily during the setup process.
- Also, refer to your router configuration and enable hidden SSIDs, MAC filtering, or a particular security protocol.
- Ensure the regular firmware updates on your Zmodo camera, in case it is available.
- Keep your devices in a shady, spacious, and ventilated area to avoid overheating.
- Certainly, use the latest version of the Zmodo app for setting up your camera.
- As a last resort, factory reset your camera and set it up again.
In short, this guide quickly highlights the Zmodo Camera Setup through user-friendly methods. To know more about this security gadget, visit us online!
FAQs
Do I need an internet connection to install my Zmodo camera?
Yes, you need a reliabl;e and stable internet connection for completing the installation and initial setup of the Zmodo camera. Further, its further functioning also requires a stable connection to the internet using Wi-Fi.
What should I do if the Zmodo camera is not connected to the wifi?
If you are facing issues in connecting your Zmodo camera to the wifi, ensure that you have the correct Wi-Fi password. Then, place your camera within a good range of your router, and restart the camera and your router. Moreover, eliminate the network interference and make sure your camera connects to the 2.4 GHz band only. At last, factory reset your security device.
How to reset the Zmodo security camera?
To reset your Zmodo security camera, press and hold the small reset button on the camera for 10-15 minutes. Then, wait for the indicator light and the reset is finished.
Can I access my Zmodo camera on different devices?
Yes, you can view and access your Zmodo camera on multiple devices. For that, use the Zmodo camera’s sharing option through the Zmodo app.